Last Updated on July 5, 2026 by Christine Kaaloa

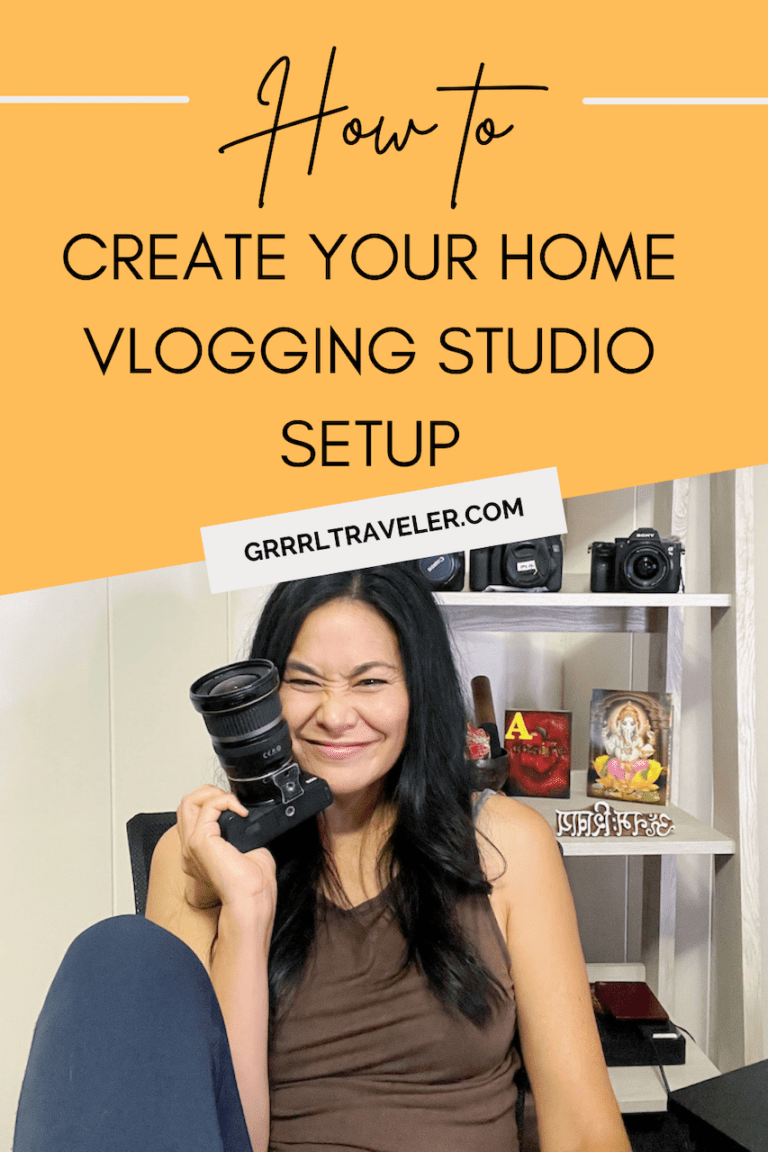
Feeling pressure to have a cool home vlogging studio for YouTube?
When traveling, I have glamorous hotels and exotic landscapes as backdrops. When I’m at home, creating a congenial and non-distractive background that exudes my personality is a real challenge. I’m not an interior designer. My needs are basic, minimal and my ideal living situation is a nondescript hotel room.
This post contains affiliate links. I highly recommend trip insurance on your adventures. Use this trip insurance finder tool to find an plan based on your budget! Check out affordable U.S. trip insurance.
Building your YouTube Home Vlogging Studio
Table of Contents: Creating a Home YouTube Studio Setup in 4 Simple Steps
- 1 Creating a Home Vlogging Studio Setup in four simple steps:
- 1.0.1 1. Create a branded background
- 1.0.2 2. Keep Lighting Consistent
- 1.0.3 3. Find a quiet place to record
- 1.0.4 4. Do an Audio Check
- 1.0.5 Dive into YouTube, get my Viral Video Money guide. I walk you through the steps from finding your niche to optimizing your videos so they are on track to finding your growing an audience
- 1.0.6 Want travel vlogging tips:
Being home-bound during the pandemic genuinely challenged and stressed me.I live in the house I grew up in, with senior parents who have ahem.. hoarding sensibilities they call “thriftiness” and its challenging to work around the clutter or the room I grew up in.
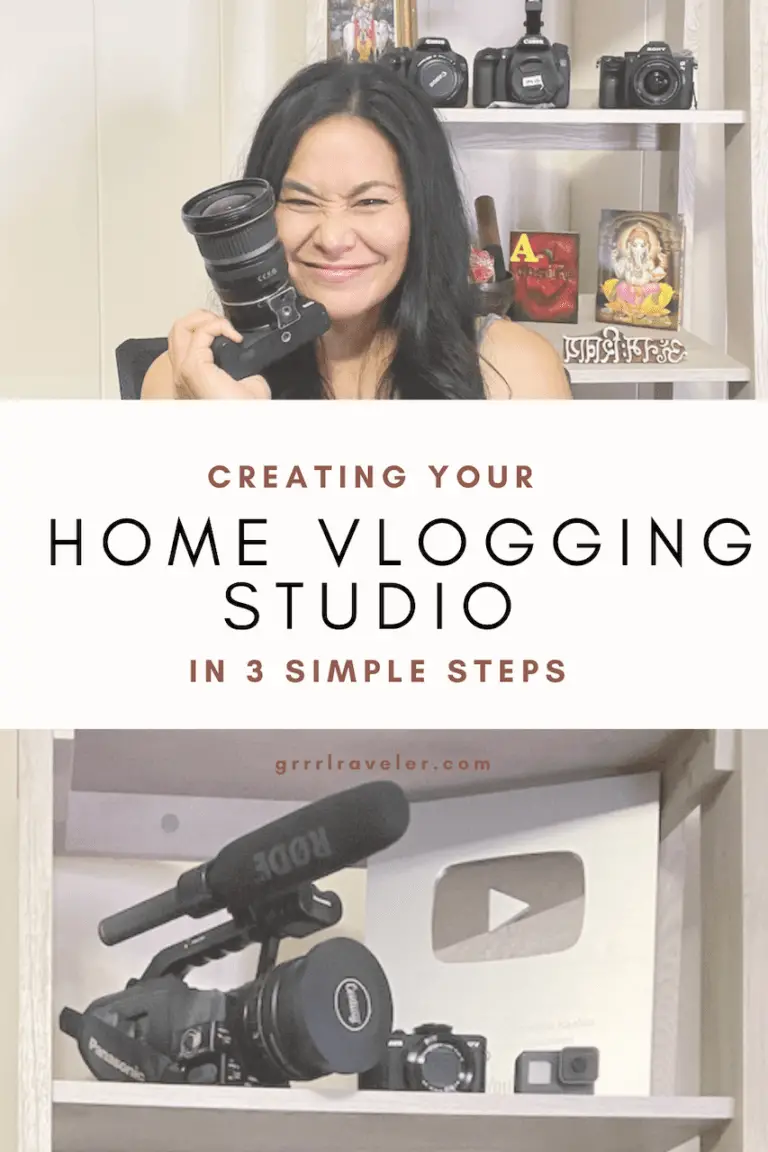
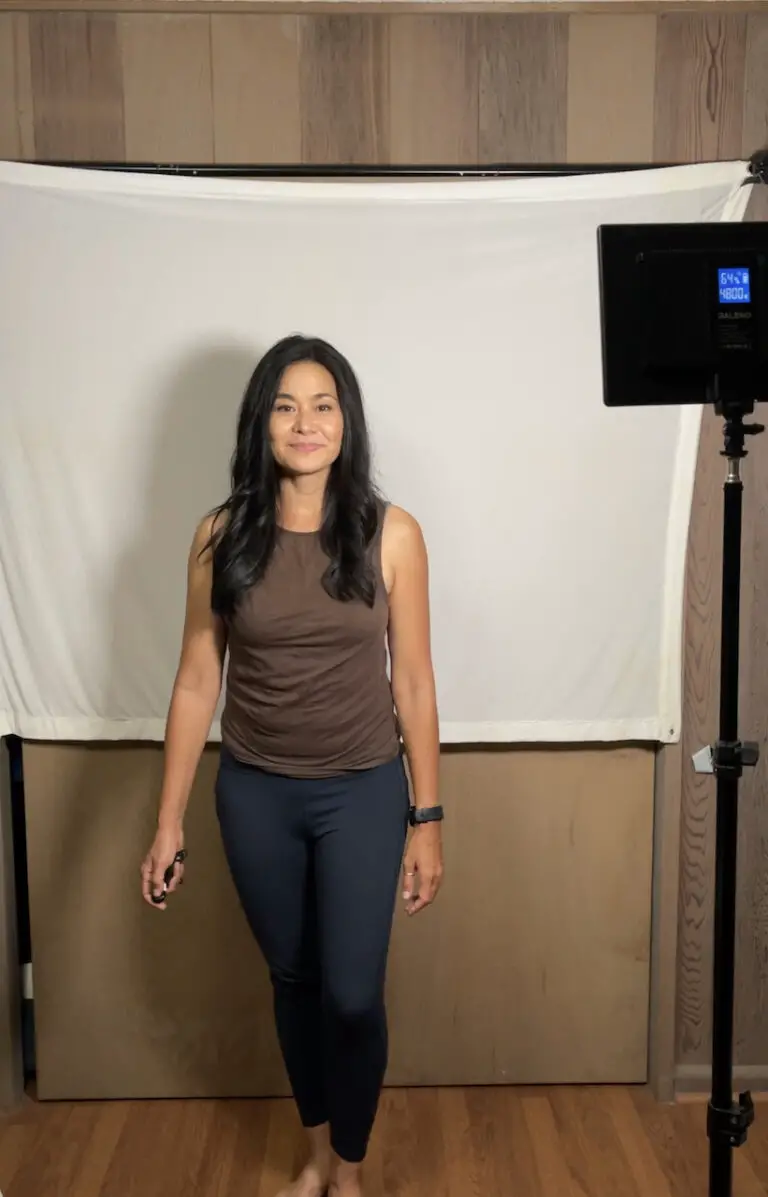
Through my Youtube growth journey, I’ve made many stumbling attempts at styling my own branded “home vlogging studio” for YouTube. It takes creativity, resourcefulness and the ability to see potential in your space. It was a challenging journey to find the right elements and lighting I wanted to help brand me so that audiences feel like they’re in an intimate space with me. I’ve gone from a white background sheet in my tiny bathroom to faux backdrops, my room to my room with studio lights.
Some of us don’t have naturally nice office spaces or stylish living rooms or kitchens to film in. Maybe you live in a tiny shoebox room in an apartment with roommates or you have a tiny corner of your room with a white wall to film against. Got it. Keep reading…
Creating a Home Vlogging Studio Setup in four simple steps:
1. Create a branded background
Your home vlogging studio setup is important for setting the tone of your video and your brand. For years, I tried different backdrops and they never fit me. I did not have plain white walls to work with and there was clutter in my house. I kept it simple and sometimes simple is the best you can do when you do not have designer instincts.
- Use your bedroom or office as a stage for their videos, as rooms have lots of personal character which indicates the brand.
- Test different parts of your house and look for interesting angles and corners. Bookcases add depth and human interest to your background. Throw travel souvenirs or guidebooks on it to share your wanderlust.
- Use a Plain white backdrop. If it is too naked for you, you can still it by hanging lights or adding a travel map.
- Go outdoors: a park, your backyard. Tip: Use a lavalier mic.
- Find an area that communicates where you are at. If it is active, find a quiet area.
- Use props and furniture: Use props that define your personality or work style. Furniture in the background- such as plants and bookshelves – adds the illusion of depth, space and gives it a personality.
- Buy backdrop paper: Don’t have nice-looking walls in your home? Backdrop color paper comes in many colors. It is what photographers use. They are sold for green/blue screen and muslin white. I used the Cowboy Studio White Muslin Backdrop (recommended) for a while. It came with its own stand and it worked great.
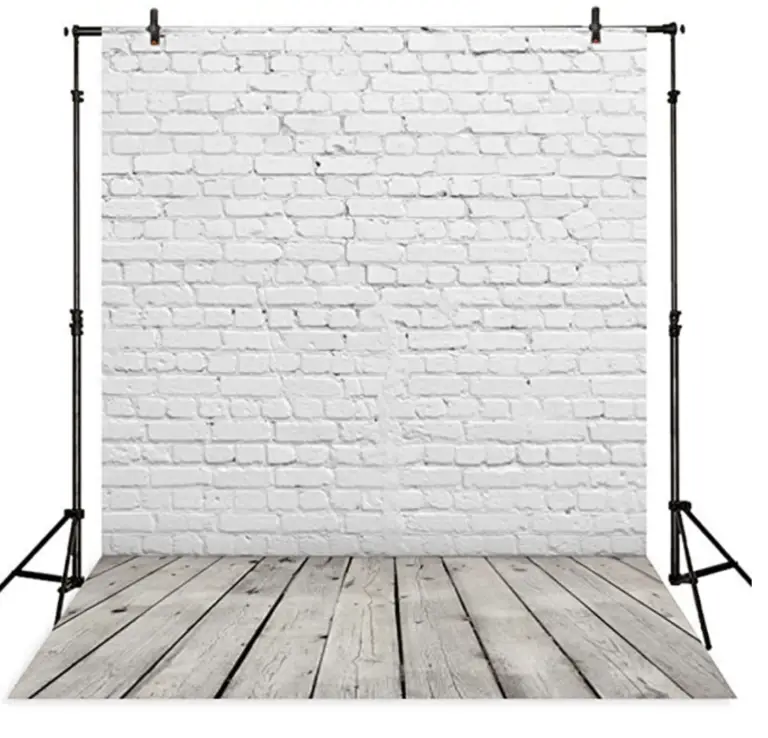
- Hang a canvas: It used to drive me nuts that my rooms did not have one large area of plain white wall, so I tried canvas. There are canvases with faux finish textures and I went through two over the course of the pandemic and used none of it for my videos. I bought a brick wall designed canvas but there are various faux finishes like wood textures and party backdrops. It adds an interesting texture to your backdrop. Con: They require a stand and clips to hang them and it requires time to iron and setup each time you film.
Download free camera equipment buying guide pdf
See what’s in my vlogging equipment backpack
2. Keep Lighting Consistent
For professional-looking YouTube growth, good lighting is key. I’m not always as professional as I hope to be. So here’s tips that help me limp along.
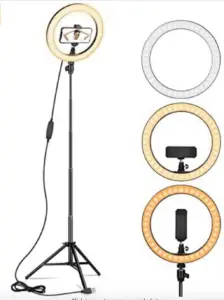
- Use a Ring light. Artificial lights is the best way to control your lighting. Don’t be afraid to invest in a couple of options. They are inexpensive and are made to cover the ring of your face. I have a 10 inch light ring for vertical selfies and 18 inch dimmable light ring for horizontal videos. The 18″ light ring lights is a little on the big side but offers good portraiture coverage- I use it for acting auditions. A 12″ light ring is good for Zoom sessions and Instagram reels. Both of my ring lights come with the ability to adjust the light from a daylight warm (orange tinge) to a night time cool (blue tinge).
- Film against a lit window. Filming against a window lights you with a natural glow. Most of the time I’m filming against a lit window because I love the lighting. It is warm and covers me face in a lovely diffused glow. The only thing I don’t like is we have a lot of clouds over Oahu and sunlight changes when clouds pass through. It makes seamless editing a challenge. Avoid filming around early evening, 4pm to 6p as the sun changes fast resulting in your video going from light to dark.
- Panel Light kits. Light kits are what videographers use to light a small area of a room. They require a learning curve for those who don’t use it often as the goal is to light yourself so there are no shadows. I love my Raleno dimmable portable light kit for its portability and soft lighting (I’m still learning how to light my room with it). It also comes with a carrying case. Charge them up and you can use them untethered where there is no outlet.
- Face the sun if you’re filming outdoors. Facing the sun whilst filming outdoors can offer decent light to capture activity. Avoid an effect called backlighting, where your face is dark against a sunny background. Also, filming outdoors during noon time creates harsh shadows on your face. Stay away from wanted shadows created by objects between your light source and your subject (or you) i.e. tree shadows, your selfie stick or camera.
Travel Vlogging tips for the Beginning Creators

3. Find a quiet place to record
Just when you’re ready to film, the dog starts barking, the neighbor decides to mow their lawn or do home repairs… filming in a residential area has its issues.
Make sure your home studio is optimized for good audio.
- Film in a quiet place, where there are no echoes or reverbs.
If there are, you can easily soften them by throwing a rug or carpet under you. A silent fan can help add white noise to your room to mask other sounds. - Seek quieter times of day for filming in your neighborhood.
- A clip-on lavalier mic helps pick up a speaker’s voice and isolates it from the background ambient noise. I use a $12 clip on lav mic (highly recommended). I can use it with my DSLR and iPhone (with an Apple AC jack to lightning cable).
- An on-camera shotgun mic is used to record directional sound, which means it captures sound from the area it is pointed at. It’s an easy way to capture voices of speakers or close up sounds like food fried in a pan. I use a Movo mic (highly recommended). It is compact, easy to use, inexpensive, and fits in a small pouch.
4. Do an Audio Check
• Test your audio to know how it records your voice and ambient noises. Record yourself, play it back and listen to it. Even professional audio guys have to deal with noise issues like traffic, airplanes flying overhead, neighborhood kids or music playing loudly outside your window.
• Ensure audio levels are working on your camera. If you are using the built-in audio from your camera, make sure it is ON. Sounds obvious but it happens.
• Get a fuss-free and plug-n-play microphone .I used to have a Rode shotgun mic that had a tiny gain button that I did not know turned the audio off and on. I continually forgot about it. It wasn’t until I messed up the audio on a job that I realized how I didn’t want to deal with that and needed a plug-n-play mic. It is so easy to forget to turn on your onboard mic and go a day of filming only to find you don’t have sound.
Dive into YouTube, get my Viral Video Money guide. I walk you through the steps from finding your niche to optimizing your videos so they are on track to finding your growing an audience
Want travel vlogging tips:
Travel Vlogging tips for the Solo Female Creator (A MUST READ for Beginners)
What you Need for a Travel Selfie
Why you need to be on YouTube as a travel content creator
Share your tips for creating a Home Vlogging Studio Setup!