Last Updated on July 22, 2024 by Christine Kaaloa
This post may contain affiliate links. Never leave home without travel insurance. Click for the best travel insurance for gear protection and best insurance for COVID. Want camera gear advice for your film trip? Book a vlogging gear advice session with me.
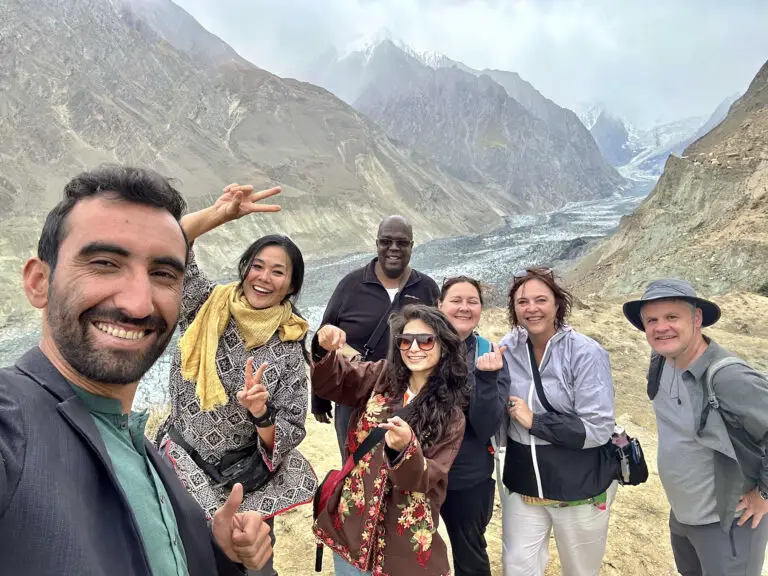
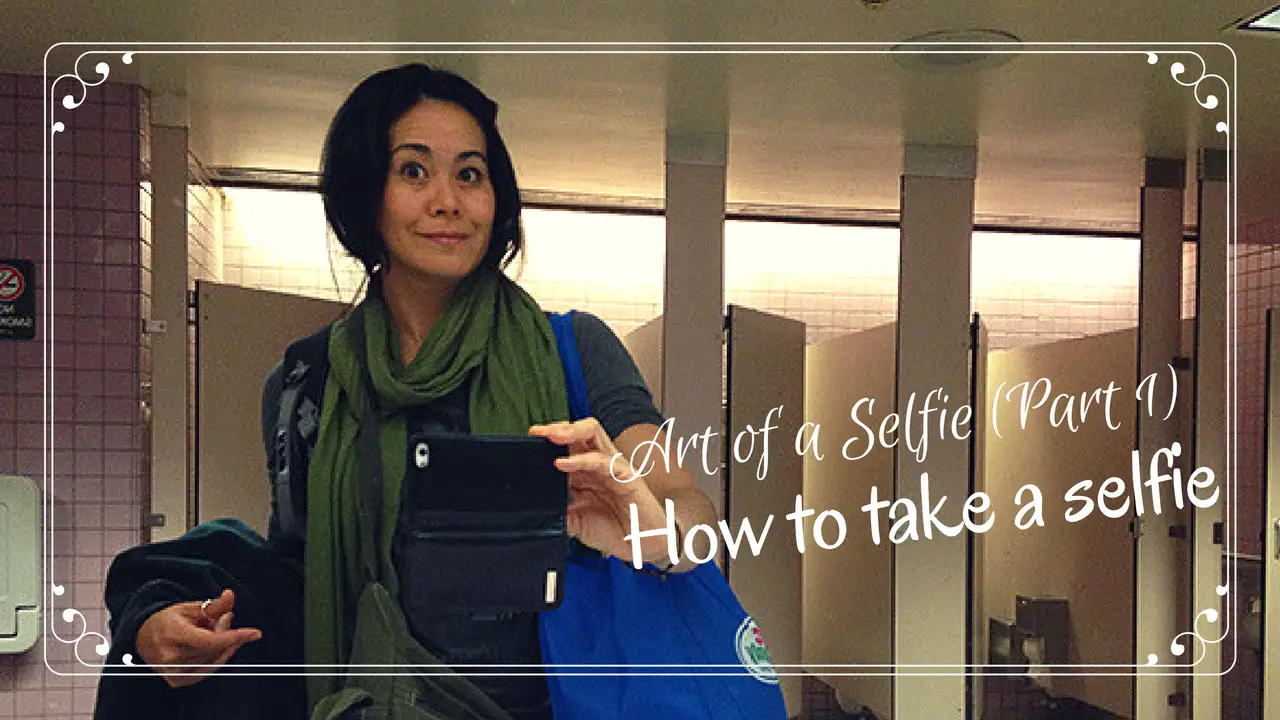
Selfies, selfies, selfies… The selfie is the trademark of this new century, make no bones about it. Travel vloggers and influencers use selfies to enhance their storytelling for YouTube and Instagram. It also ranks high on the priority list of travelers who want to share their vacation with friends. If you haven’t mastered it, then it’s about time.
Don’t have a boyfriend photographer to help you get your shot ? Neither do I. I’m a 100% solo travel vlogger on YouTube and I take accessories to help me do my work.
10 Top Tips for Selfies & Travel Vlogging
Table of Contents: How to Take a Selfie: 10 Top Tips for Selfies & Travel Vlogging
- 0.1 10 Top Tips for Selfies & Travel Vlogging
- 0.1.1 1. Use a smartphone with a camera
- 0.1.2 2. A camera with a flip-out viewfinder
- 0.1.3 3. GoPro
- 0.1.4 4. Use your camera self-timer
- 0.1.5 5. Bluetooth remote shutters
- 0.1.6
- 0.1.7 5. Editing apps to export video still frames
- 0.1.8
- 0.1.9 6. Ask other travelers to take the photo for you
- 0.1.10 7. Drone for the epic landscape selfie
- 0.1.11 8. Compact Travel Tripods
- 0.1.12 9. Selfie Stick
- 0.1.13 10. Magnetic mobile cases
- 0.1.14 What recommendations would you give to selfie vlogging tips for beginners?
- 0.2 Watch my Best Travel Vlogging Camera + Vlogging setup gear | What’s in my Bag (Video)
- 1 Watch How to Make Travel Videos (video playlist)
There’s various resources and ways to take a selfie and I’ve tried all of them. When you travel alone, you’ve got to figure out how to use your own resources.
1. Use a smartphone with a camera
Smartphones like iPhones, Androids (even iPads) have a self-shooting camera feature, making selfie art an integrated part of daily life and social settings. It’s also the quickest way to start for budget travelers still learning about photography. How to take selfies with an iPhone? The front camera lens has a better quality than the self-facing lens. I still prefer the self-facing lens because I can see myself better when composing myself with the background.
Want to go “pro” with your smartphone? You can upgrade with simple accessories. On Amazon, you can always also find inexpensive and all-inclusive smartphone bundles like this. Otherwise, I use the Joby GripTight One with an inexpensive clip on ring light for darker settings (this comes in handy when photographing food in a dark restaurant!). You can also upgrade with an audio mic (this one has an adapter for your iPhone) To get more of an extended reach, there are mobile selfie sticks with shutter remote buttons built in to make taking a snap a breeze! See my full mobile vlogging kit.
Check out my full travel vlogging gear list for solo content creators
2. A camera with a flip-out viewfinder
Pocket cameras with flip out screens, which swivel 180 degrees, allow you to film yourself while allowing you to see yourself in the screen. These are popular with YouTube vloggers who want to straighten their appearance and get a peripheral view of what their audiences will see when they hit record. You can frame yourself within a landscape, make sure the composition is good, while also getting creative with camera angles. If you’re holding your camera at arms length, then you won’t get a full body shot of yourself. To get a full body shot you’ll need to set up a tripod or Gorillapod and then hit the record button and walk to a spot distant enough until you see your full body.
Tip: If you do not have a tripod accessory, then sometimes, I like to prop it up on my daypack or a wall to steady the shot.
Recommended : Canon G7X , Sony RX100, Sony ZV-1
Read 11 Best Cameras for Travel Vlogging
Read Why Travel Influencers NEED to be on YouTube
3. GoPro
GoPro cameras are best for action and water sports. But it boasts a panoramic frame, with a touchscreen viewfinder and is waterproof.
Although you do not have a flip out screen for self-viewing, the wide lens captures a lot. Also, GoPro’s mobile app lets you bluetooth connect to see the view your GoPro sees. This means you can put your GoPro on a tripod, line up your shot by looking at your mobile app on your smartphone and hit that record button.
The built in microphone isn’t so great, but newer GoPro models allow you to plug in an external microphone. It’s still a decent camera for vlogging and selfie taking and with auto-stabilization, it makes up for some of its flaws by recording smooth motion even in the jerkiest situations.
Read Tips for Adventure Vloggers & Filmmakers
4. Use your camera self-timer
Many cameras have a timer, which you can set and allows you a countdown of 5-10 seconds to get into your pose and in frame. A gorillapod or travel tripod works best; you can line up your stationary shot and stabilize it, before hitting the timer and running into frame.
5. Bluetooth remote shutters
Bluetooth remote shutters control your camera and allow you to press record or take that photo from a distance, so you can photograph a full-body pose. You need need to use Bluetooth to pair the remote with your camera, but then you’re good to go. Remote shutters do not work with all cameras so make sure your remote and camera can be paired. You can use Bluetooth remote shutters for all types of cameras from a smartphone, DSLR, GoPro, you name it.
Watch my IG REEL below. I use a bluetooth remote shutter!
5. Editing apps to export video still frames
Photographs help promote my work on social media. But as a travel filmmaker, I don’t always have time to set up an additional photoshoot. Good news~ video is made up of 24-30 frames per second. You can capture slight moods and expressions in one second and even more in a minute or three! After filming my video selfie, I get my Instagram photos from exporting or doing screen grabs of still frames through editing apps such as Premiere Pro, Wondershare Filmora, MPEG Streamclip..
Note: Unless you export a video still frame from a 4K video, the quality of a video image is often compressed. The quality, depth and digital information will not be as strong as a photo shot in RAW format. However, you will only notice if you zoom in on the photo to realize it does not have the detail of a photo shot in a RAW and uncompressed format.
Warning: This is not the same thing as doing a “screenshot”. For instance, if you film a video on your iPhone, taking a screenshot of the image you want will only get you a lower-quality image.
6. Ask other travelers to take the photo for you
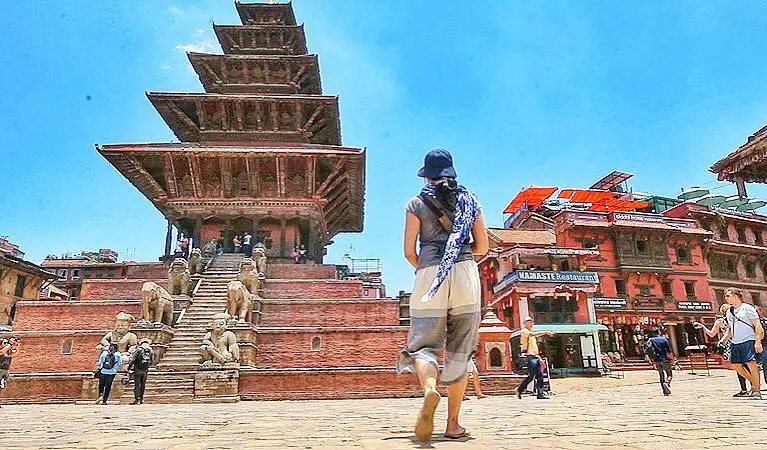
As solo travelers, a great way to meet people and get your selfie shot is to ask a stranger to take your photo for you. Always direct your new acquaintance on how you want the shot. I use my hands as part of the frame to show if I want a mid-body shot or a close-up of my face. Or I will line the shot up and have them look through the viewfinder to see the composition I want. The more direction you give, the more you can avoid a bad shot.
If you’re asking them to record you in the video, remember to instruct them on the record button and how to tell when the camera is recording. I like to press the record button for them to ensure it is recording and then hop into the scene.
Filming messy selfie food scenes can be challenging if both my hands need to get dirty. That’s when I might pop out a tripod. In some cases, I’ve even asked a neighbor to help film me. Filming myself eating something messy or which requires the use of both hands, I might ask the host to film me. I’ll direct them, either to go in for a closeup of my hands with the food or pop out for a wide shot of me.
7. Drone for the epic landscape selfie
Drones are perfect for the epic selfie and cinematic appeal of travel videos. DJI Mavic Mini is a popular drone for solo travel content creators who want something compact, lightweight and won’t hog space in a day pack. It captures sweeping aerial landscapes for travel videos while photographing you in a greater landscape.
Check out my YouTube film gear list.
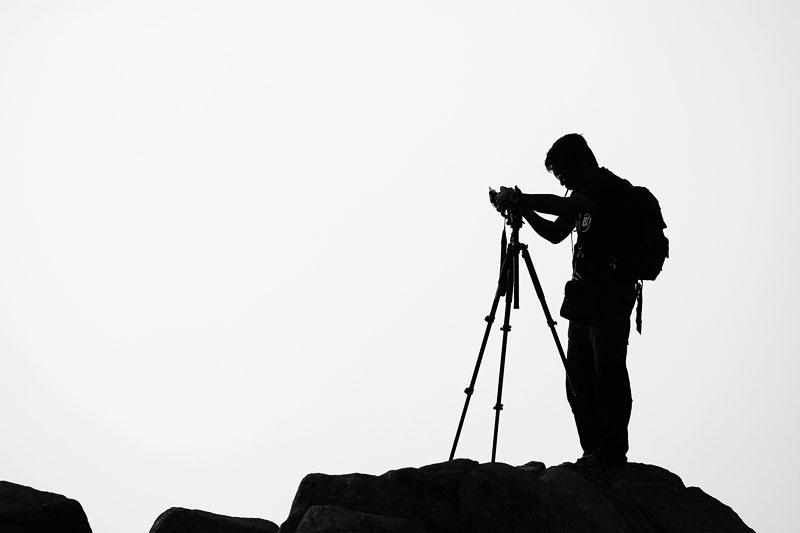
8. Compact Travel Tripods
What are the best travel tripods? You want to pack a light-weight tripod for travel. Manfrotto’s Be Free tripod is a top-notch travel tripod. It offers a flexible setup, folds compact and is one of the lightest tripods I’ve seen yet.
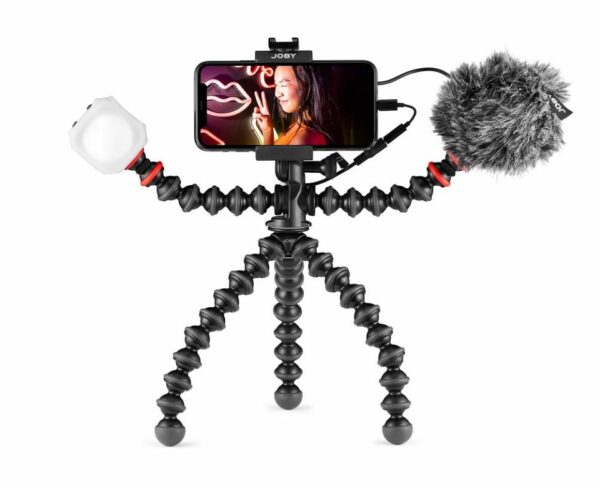
If you do not need a tripod with height, then an even lighter solution is the GorillaPod Mobile Vlogging Kit . One of the best travel tripods, Joby makes it super easy and fun to go minimal with its all-in-one mobile vlogging kit. The vlogging kit features a strong mini light and shotgun microphone to be a full set vlogging kit. I also have the Grip Tight One to the GorillaPod 4K so I can get into small spaces and industrial strength ones. The GorillaPod mounts on uneven surfaces and if you want to perch or position them on walls and trees. It can support anything from pocket cameras to DSLRs.
If you’re a smartphone creator, there’s the iKlip Grip Pro, a four-accessory-in-one tripod: desktop tripod, grip handler, monopod and tripod adapter.
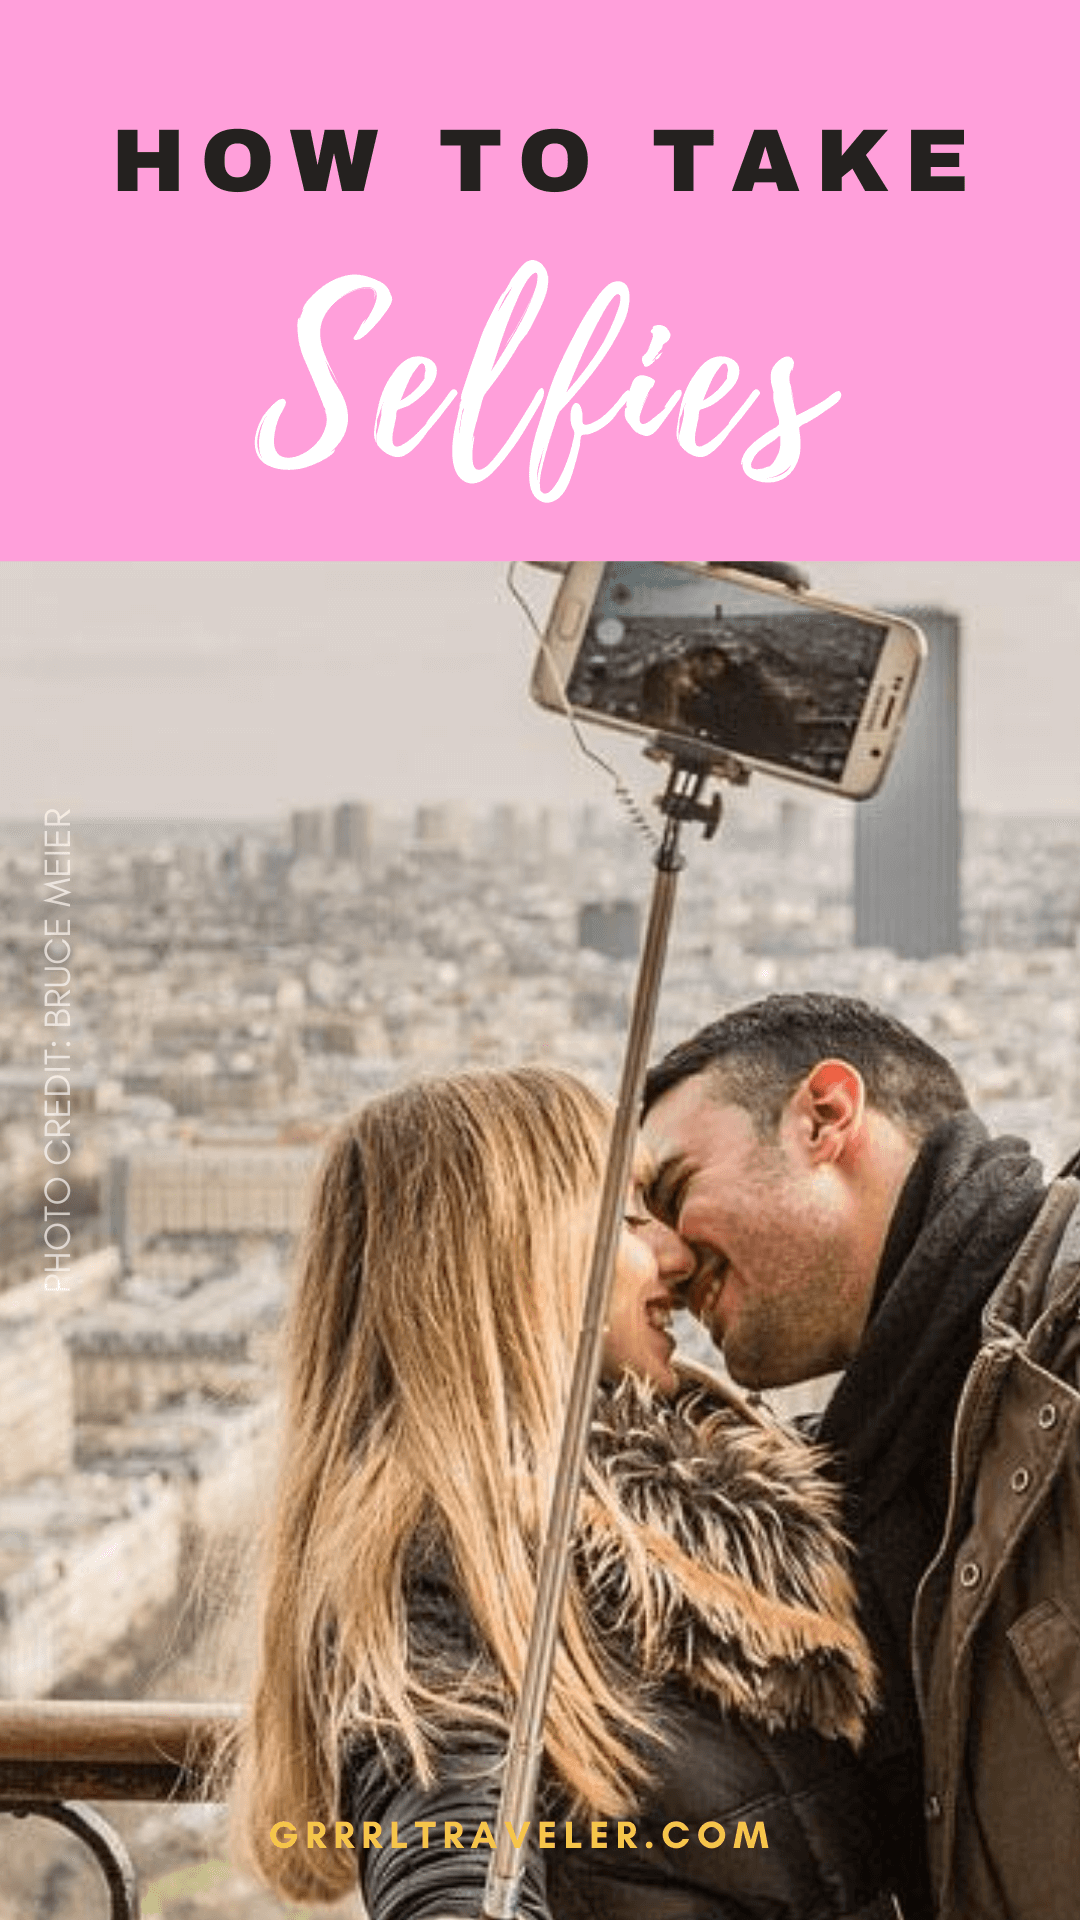
9. Selfie Stick
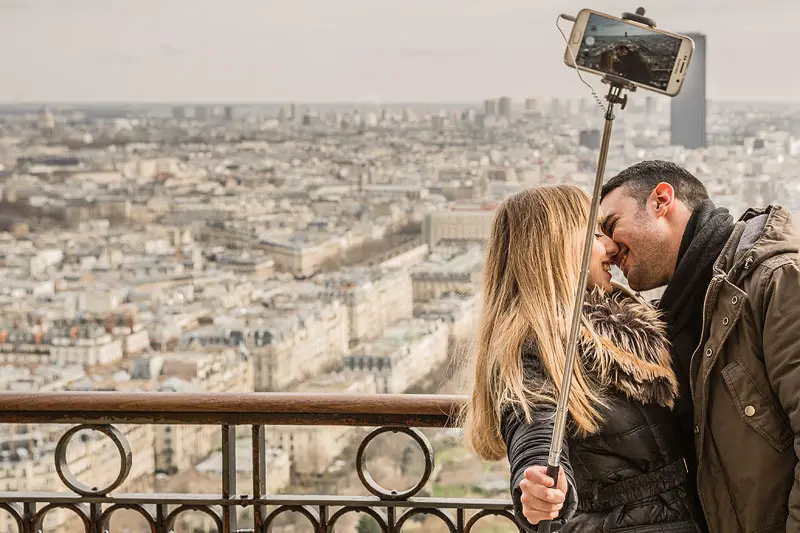
Selfie sticks are great for extending your camera further than your arm’s reach, so you can get more of your body in the frame. For quick over-the-shoulder shots, you’ll see me wrapping my arm around my back, so my camera is extended behind me. It allows me to get really creative with my shots. You can find many cheap selfie sticks which mount a smartphone as you click the Shoot button on the handle. I have a slightly more serious selfie stick- a DigiPower Quikpod Extreme -which can hold anything from a GoPro to DSLR. It’s sturdy, can handle extreme weather and be taken underwater. It extends roughly 4 feet high and I can occasionally use it as a monopod to get a steady tracking shot.
10. Magnetic mobile cases
Magnetic mobile cases are wonderful if you are using your mobile phone for filming and you are near a metal surface that will let you self-attach to them. Especially good for full body vertical shots and Reels, you attach your magnetic mobile device to a metal surface and can start recording or setting your mobile device on timer. I like to use magnetic mobile cases which detach from wallet cases, like this Goospery magnetic wallet case (synthetic leather) or this strong magnetic case (I accidentally bought this real leather case which I try to avoid due to my love for animals).
What recommendations would you give to selfie vlogging tips for beginners?
Interested in starting your own travel YouTube channel ?
Check out my YouTube Starter Bundles or my mentorship program.
Watch my Best Travel Vlogging Camera + Vlogging setup gear | What’s in my Bag (Video)
Watch How to Make Travel Videos (video playlist)

