Last Updated on January 2, 2026 by Christine Kaaloa
This post contains affiliate links. I highly recommend trip insurance on your adventures. Use this trip insurance finder tool to find an plan based on your budget! Check out affordable U.S. trip insurance.
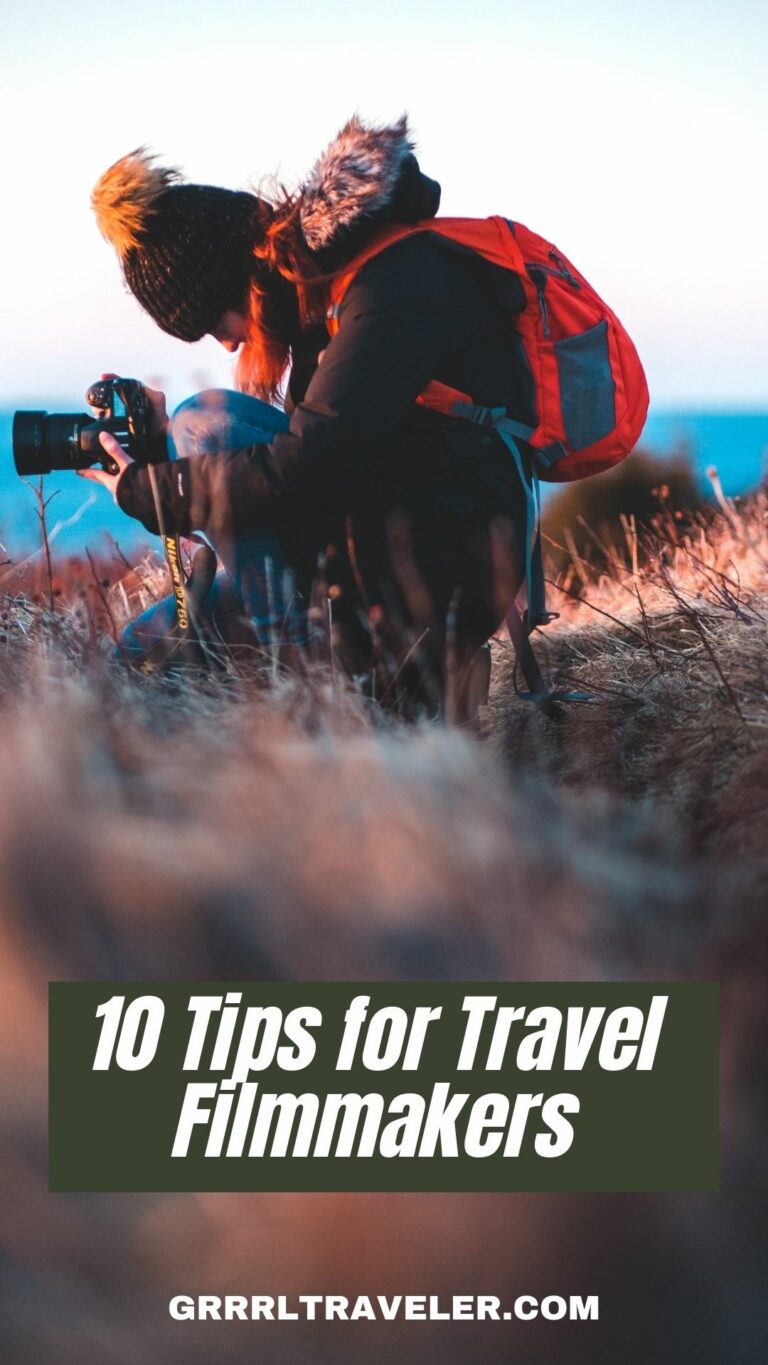
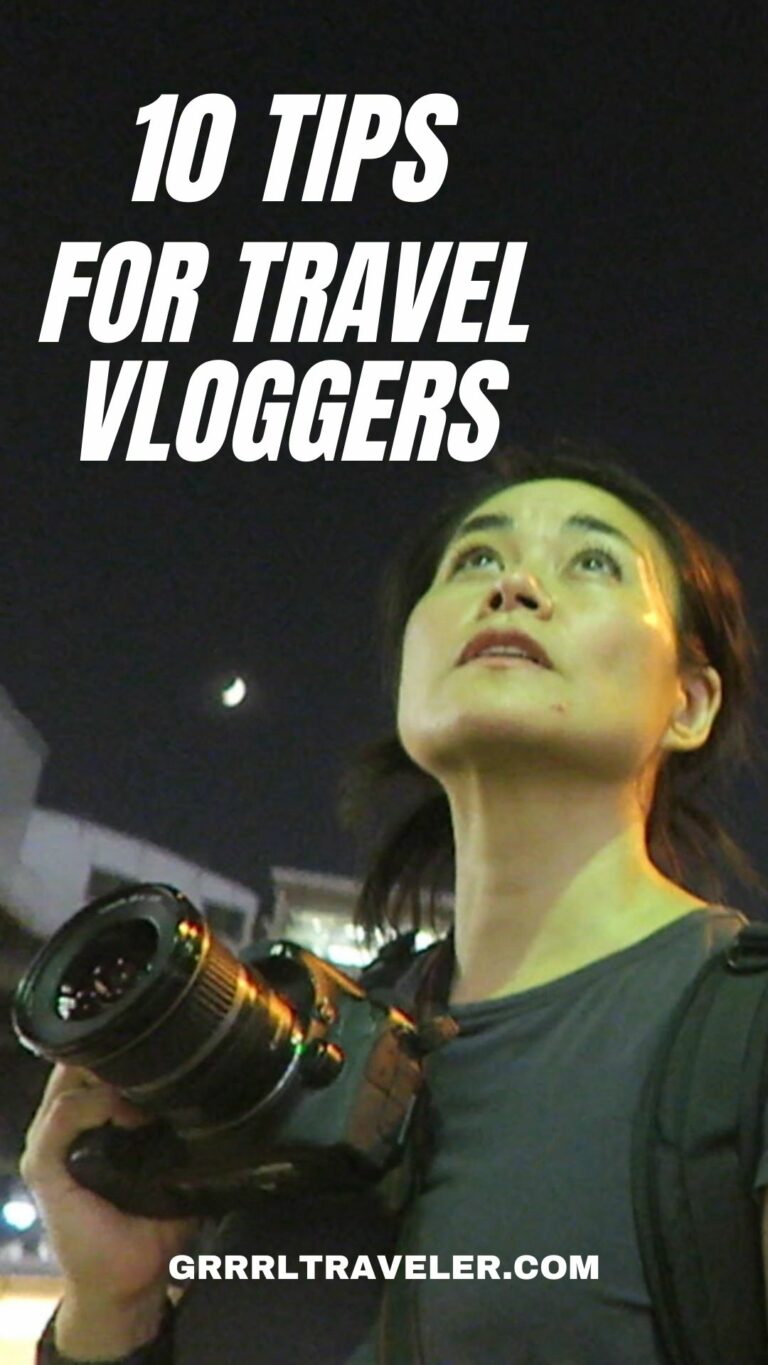
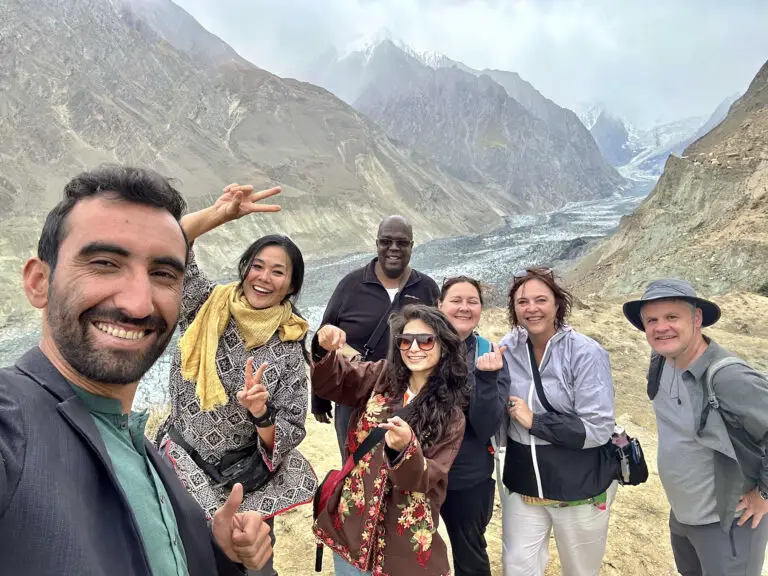
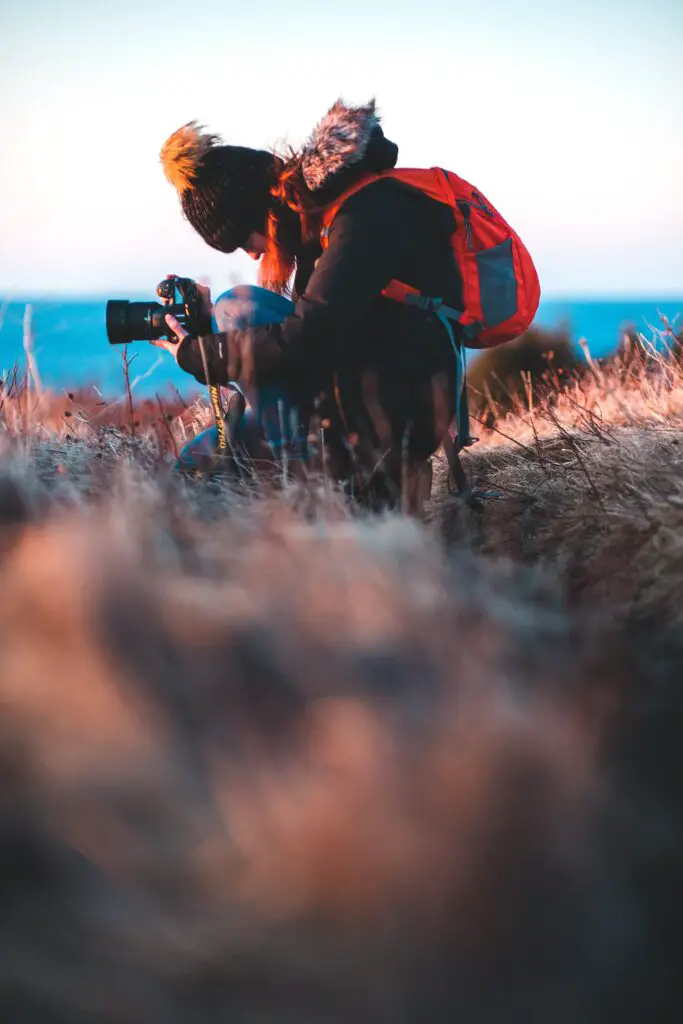
Being a solo female travel vlogger , I love shooting stories in exotic and new destinations. Being thoughtfully prepared and packed for my shoot is most important to me. With travel filming is that there is no do-over once I leave a destination. I need to get my shot checklist complete so I can tell the story. I’m sharing travel vlogging tips to prepare you for shooting a destination . I’m sharing travel vlogging tips to prepare you for shooting a destination .
Read YouTube Growth Benefits for Travel Vloggers
Travel Vlogging for Beginners: Is travel vlogging for women different from men?
Table of Contents: 15 Travel Vlogging Tips from a SOLO Female YouTube Creator
- 1 15 Travel Vlogging tips for Beginners
- 1.0.1 1. Never pack your main camera gear in your checked luggage
- 1.0.2 2. Decide on the right gear to pack for the day
- 1.0.3 3. A wide-angle lens is a must for making travel videos.
- 1.0.4 4. Avoid large camera backpacks
- 1.0.5 5. Is this a vacation or a film shoot?
- 1.0.6 6. Choose the right travel camera bag for solo travel
- 1.0.7 7. Do not assume you can “buy replacement gear” when you arrive.
- 1.0.8 8. Invest in an SSD
- 1.0.9 9. Capturing the details is key to a good story.
- 1.0.10 10. Ask permission to shoot locals
- 1.0.11 11. Prepare for all outcomes
- 1.0.12 12. Prepare for the weather
- 1.0.13 13. Insure your camera gear
- 1.0.14 14. Remember to wipe your lens
- 1.0.15 15. Check camera settings
- 1.0.16 Conclusion
- 1.0.17 What recommendations would you add to this guide on Travel Vlogging tips for beginners and how to start a travel vlog?
Being a solo female travel vlogger brings unique challenges compared to male counterparts, even though our camera gear and YouTube styles may be similar. I strive to be authentic with my audience, but sometimes, I hesitate to share my struggles as a woman in a male-dominated industry, fearing I might be perceived as “whiny.” However, being a female vlogger on a solo travel journey presents distinct hurdles.
Safety is a top concern. Navigating unfamiliar territories while being a female traveler demands constant vigilance, especially in societies with traditional gender norms. Cultural differences and societal/dress codes can make it more challenging for me to blend in and stay safe. Additionally, carrying my gear around adds a physical and emotional burden, and dealing with touts and travel scams can feel overwhelming.

Read How to make travel videos for youtube growth
Each new destination requires me to adapt to a unique set of rules and customs while ensuring my storytelling remains informative for my travel audience. Speaking to my camera in public spaces can attract unwanted attention, leaving me feeling nervous and self-conscious.
Despite these challenges, I’m determined to overcome them and share my amazing experiences with the world. As a travel vlogger, I believe in inspiring other women to embark on their own solo adventures and break through the barriers. Here are some tips that have helped me along the way:
See my conference slides on How to Make Money with YouTube
15 Travel Vlogging tips for Beginners
1. Never pack your main camera gear in your checked luggage
A rule of thumb is that you never want to separate yourself from your main camera gear because it is both, essential to your film trip and valuable. Your flight can get delayed or your luggage can get tossed, lost or stolen.
So what can you pack in checked luggage?
- Cables, adapters and backup chargers (I always keep one for my main gear bag in case luggage gets lost and I have to charge things).
- Pocket light panels, gorilla pod, tripods and selfie sticks.
- If I pack valuable gear I’ll pack a short lens and wrap it up in my clothes or tuck it away in a shoe or cup.
Avoid packing camera and external batteries. You may carry a lot of batteries like me, but it’s against airlines regulations. I like to pack my accessories in my luggage (although I take mostly carry-on luggage so i’m never far from my gear period).
See my packing list for travel vlogging
2. Decide on the right gear to pack for the day
When you travel and film, you need to choose the right gear to bring with you, because you’re carrying it for the entire day. It’s like a marriage that has to last for the day. Pack the wrong stuff – underestimate your shooting needs or the weather– and you’re kicking yourself for hours.
Think about the shots and content you want to capture first and then the weather. Then plan your packing around it.
I know photo journalists who carry two DSLRs, so they do not have to switch out lenses when they shoot for an event or red carpet. But solo travel run and gunning is a beast when you’re sightseeing, walking crowded markets and doing outdoor activities like hiking. It also takes mental preparation when your day spans into a long day of navigating public transportation, taking Uber or rickshaws and getting lost on foot!
Your camera backpack weight, the miles you’re walking, the obstacles of filming the shots you want and the climate… they all add to the challenge.
- Leave some gear at your hotel or home. Although I pack gear for my trip, I also repack my gear for the day’s itinerary and shooting needs.
- For hiking, landscapes, I leave my heavy 70-300mm zoom lens at home and use my everyday cameras: GoPro, vlog camera and/or mini DSLR.
- For food content, I pack my vlog camera and/or mini DSLR with my camera shotgun mic.
- If filming a safari or street crowds, I’ll pack my zoom lens.
- For travel portrait days (I don’t really do portraits), I might bring a 50mm lens.

3. A wide-angle lens is a must for making travel videos.
A wide-angle lens is a must of travel content creators; you’ll be glad when you make that investment. Other camera lenses will not be able to capture the landscape as you experience it and even your wide lens will not capture the epic greatness you experience.
I’m typically the type of film coach, who advises that it doesn’t matter what gear/brand you get, but this is one piece of glass you will find the most use with.
I recommend a 10-22 wide angle lens (I have this and I’m a Canon user! It’s the one in the photo below) for the budget videographer. It is a sweet piece of glass, the lightest of the wide angle bunch and the least expensive of wide-angle lenses, next to the ultra-wide 11-24mm lens. 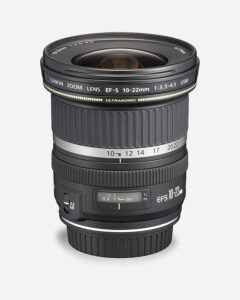
The 11-24mm ultra wide angle lens offers stellar, high-quality performance and is great for architecture, landscape and weddings. The con is that it can be pricy and a bit more on the heavy side. It is a solidly built camera lens with heavy glass.
These two wide-angle lenses are the best bet to capture your landscape before the image begins to distort.

4. Avoid large camera backpacks
When you solo travel, you carry your all your camera gear and luggage with you. You want to have a light and maneuverable equipment backpack, as you’ll be wearing the weight on your shoulders and back within the course of your travel-film days. Check out my camera backpack (I absolutely love it for solo filming)
- Keep your travel camera backpack compact I’ve had to fit my camera gear on anything from train lockers, plane cabins to maneuvering small and crowded buses in developing countries. Large backpacks also tempt you to want to pack more than you need.
- Adaptability. You want to comfortably transport your valuable gear on flights (laptop included, if you take one). But you also want to be able to downsize and strip down to the travel-film essential you need, during long haul sightseeing days when you spend a lot of time on your feet.
Being light and nimble helps you move quickly and fit into tight spaces.
See top carryon convertible luggage for solo travelers
5. Is this a vacation or a film shoot?
If your goal is to grow a YouTube channel, then plan your trips around your film shoot ideas. Each day is an expense, when I’m traveling a destination and even my sponsored stays come with a time limit.
I am IN for the shoot; OUT when I’ve collected the stories/videos I came for. It’s what is in my film budget. There are times that I certainly want to stay longer, but my time is often shared with freelance videography work at home that offers paying clients vs the passive income that blogging/vlogging brings and must be earned by investing time, energy and money into content.
Generally, it’s hard to take a vacation when your job is to film your “vacation”. For me, my true vacation is after I return home, turn off my camera and sleep.
Being a solo female travel vlogger involves juggling two distinct aspects: the basic travel budget and logistics, and the filmmaking and content planning. It’s a challenging, rigorous but rewarding journey that requires preparation and adaptability.
- On the solo travel front, I meticulously research and plan my trip, trip dates, prices, considering factors like budget-friendly accommodations, transportation options, and personal safety as a female traveler. Dealing with language barriers, managing equipment gear, and navigating unfamiliar situations … it all happens here. I need to know where I’m going, who I’m meeting and by what mode of transportation I’m using (i.e. bus, overnight train, ride share, rickshaw, etc..). I have to be prepared for every situational variable that’s thrown at me and if I’ve never experienced it, then whoa, there’s always a first time! How to use a bathroom that’s got a squat toilet, in a stall with no luggage hook and with all your gear on you and luggage with you… that’s a learned female solo travel vlogger skill!
- As a travel vlogger, I dedicate time to plan my film shoots and create content. Researching filming locations, potential story angles, and researching and connecting to sponsors is crucial. Reaching out to sponsors takes much behind-the-scenes work, but it can help travel-to-film expenses be more manageable, unless my YouTube income covers that additional expense or I can upsell a stay into a paid freelance project! (When I edit all my footage and post social media posts, budget has to be factored in as well!)
- Taxes: I consider expenses associated with video creation, like flights, transportation, meals, activities, guides/fixers, Uber, food haul expenses and visa fees, which can be claimed as Costs of Goods Sold when I earn YouTube income.
- Being responsible for my content, including correctly pronouncing foreign words, is essential, even though mistakes can happen and jerks leave you a stinky comment about how I should know how to speak their language.
Balancing both aspects during a trip can be taxing, especially when facing physical fatigue and challenging weather conditions. Something as small as your ponytail getting caught under your camera backpack strap can be the last straw! Despite the difficulties, proper planning and finding support make traveling and filming more manageable and enjoyable.
Want to make money with YouTube?
Nab my book bundle on How to Make Money Blogging & Vlogging
6. Choose the right travel camera bag for solo travel
One of the most vital things about choosing the right travel camera backpack is functionality. It needs to be easy to access so you can remove your camera and start shooting immediately. You want your gear to be organized, easily accessible for breaking action. You also need to be protective of your gear and protected from pickpockets… Yes, it can be stressful if you’re a woman traveling alone carrying visibly expensive gear that needs to come out for you to do your job.
You want to think of your backpack in terms of how you’ll maneuver a crowded train in Japan, dirty back alley streets of Varanasi or on a city walking tour, where you’re in a group that has to keep moving.
Photographer’s bag cases that you have to lay on the ground to remove your camera are not practical. Avoid them, unless you specialize in cinematography. Cinematographers will create more time in a place just to film it properly. Otherwise, some locations won’t afford you the space or privacy to open and expose your equipment. Tip: I’m in love with the Manfrotto NX CSC Camera Backpack. It’s compact, keeps everything organized with top and back loading entrances to the bag. (check out my review)
7. Do not assume you can “buy replacement gear” when you arrive.
Before traveling, ensure your travel vlogging equipment kit checklist includes backup batteries and charging cables. Some countries may lack Apple stores or offer electronics at higher prices in airports. Moreover, be mindful of varying plug types in different countries. For instance, when I purchased a Mac laptop in Hong Kong at an Apple store, it did not occur to me that it would come with a Hong Kong plug adapter , which required a specific plug adapter for use in the U.S.
Tip: B&H Photography delivers internationally, so if you need to replace a piece of gear, you may consider this option. Amazon may also be an option if you are staying at a hotel for a set number of days. Keep in mind, you may need to open an Amazon account in the country that you’re sending to and their international partners are limited! Amazon operates in over 20 countries, such as: United States, France, Italy, the United Kingdom, Turkey, India, Saudi Arabia, Japan, Singapore, Mexico, and Brazil . Here’s their international shipping policies.
Download my camera equipment buying gear list It’s a little dated but it’s still helpful, as I share reasons behind what I buy.
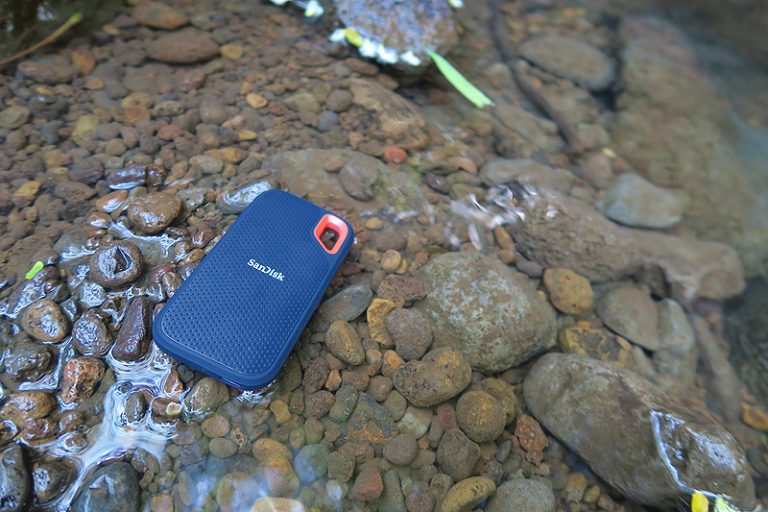
8. Invest in an SSD
Anything can happen on the road. You can lose your camera, your external drive can get banged up and corrupt, someone can steal your luggage …and whooops there goes all your hard work, planning, and expense. I like to take two 2TB SanDisk Extreme Portable SSDs and split them up in two bags. They are wallet size and super durable and slim so you can stash them inconspicuously in many things. It allows you to edit and transfer footage anywhere– even on the toilet. TMI, i know. But I’m in love with them!
Avoid: Stop buying the regular brick external storage. Read my SanDisk review here, especially if you do not know what’s the difference between and SSD and external harddrive!
9. Capturing the details is key to a good story.
With vibrant landscapes and exotic cultures unfolding before you, it’s easy to get sucked into getting cinematic portraiture as your broll. Wide shot, wide shot, wide shot… can get boring for YouTube audiences. If you are planning to film your journey for YouTube growth and not a travel documentary like Baraka, you will likely need more activity, emotions and dynamics to fuel a story.
Find the story in your journey, the destination, its people and culture. If you see holy men on the steps of the Ganges from your Ganges sunrise boat cruise, use your lens to probe deeper into their lifestyle, the ornaments they wear, their actions. A cultural festival has deeper meanings to locals than it does tourists, so probe, probe, probe with your lens. Get close-ups of details! These also make great b-roll.
Pick a story and follow it through to give your videos more insight and a deeper meaning.
Why is your channel not finding YouTube growth? Book a YouTube Channel Audit
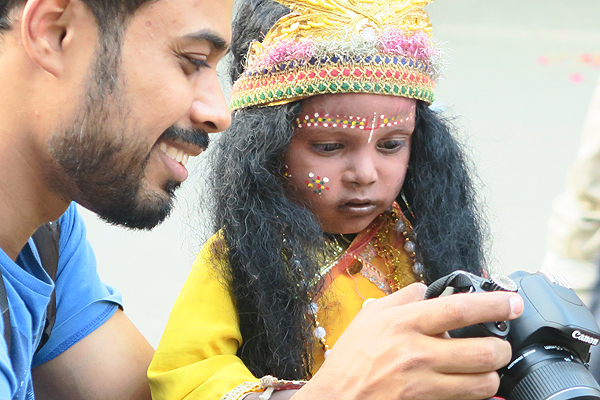
10. Ask permission to shoot locals
Always ask permission before you film locals. It’s tempting to just film people without their awareness because you want to capture a beautiful moment and once they notice a camera, they botch that authenticity. But still, it’s their right to their privacy. I’ve certainly had my moments when I was naive and took photos in secret. Some countries, the locals are happy to have their photo taken, but others may not be. The more western you go, the more stringent the rules get.
Japan can be a challenging country to film, as there are many “No photo” signs up at marketplaces and eateries. Shops and locals may not appreciate being photographed.
I worked with a sponsor who wanted me to promote one of their many cooking classes in Tokyo. The vendor (aka “cooking teacher”) they chose, who was giving the cooking class agreed to let me film with the possibility the experience could show up on my YouTube channel. However, I didn’t have a filming permissions or media release contracts in place. To shorten a long story, a few years later I decided to edit and publish that trip experience for my channel. A day after publishing, the vendor contacted me to request I pull the video down. He had a nasty split with the sponsor and didn’t want to be associated with them. I asked if there were ways I could re-edit it. It was possible to remove the sponsor as they had gone out of business during the pandemic. But no. Was it a personal whim or bigger spat ? As I did not have a signed contract, I did the honorable thing and pulled the video. But it sucked royally. I paid to film, produce and edit that video with my personal time and money. I lost money on that video.
The U.S. is another country, where natives don’t like their privacy probed by lenses to the point they have no problem jumping into a lawsuit. It certainly adds to the challenge of filming inspirational travel videos.
I know it’s awkward as hell as a solo female creator to break into a very Real moment that you witness and say– Hey, is it okay if I film you? It’s a cold shower to the moment and ends whatever real thing you were hoping for.
Filming a YouTube video to fit professional legal standards is a gray line for most creators. You’re paying out-of-pocket for your trip’s expenses, for what can be considered a home video and you might not be making any money on it. Travel vlogging is an investment.
But if you’re hoping to make money with YouTube, learning the legality of things helps!
Note: If you are on a paid campaign or assignment, you must request permission from anyone you film. I know in some countries a head nod is the closest language to permission as it gets. Ask if you can film them stating their name and contact number on your recording, in case you ever need to follow up.
Tip: Jotform and Google Forms are free to use and set up a quick talent permissions form.
11. Prepare for all outcomes
Travel is exciting to shoot because you never know what’s around the corner. The downside is that things don’t always go as planned either. Equipment failures happen when a situation arises that you did not expect.
If you have a content assignment that is paid or work-based, you don’t want to miss a moment and risk a part of your gear going down in the field. When my DSLR died – twice– under the Bangkok humidity, finding a Canon repair shop to get it fixed took a good chunk of days, stress and wasting time in a search.
On one trip- my first planned solo trip– I had to buy a new point-and-shoot camera, so that I could at least get memories of my trip. It turned out to be a bombass Samsung ST500 camera that wasn’t yet in the U.S. and ultimately, I used upgraded versions of it for travel vlogging! It was a blessing in disguise but it was still time and stress, frantically running around shopping malls when I wanted to be exploring Thai temples!
Today, I travel with two vlogging cameras , and most definitely, if I am on a paid campaign! I’m prepared if one of those cameras go down.
12. Prepare for the weather
Weather changes should always be prepared for when you’re packing sensitive camera gear.
Know how your gear and batteries react in different weather types. Winter and snow wear your batteries down quickly, so going on an Arctic roadtrip with Mazda, I bought more batteries. This type of weather also causes lens fogging- when going from outdoor cold to indoors. It can also create brittle plastics– I broke a clip on my extreme selfie stick!
Keep your equipment dry from humidity, condensation and rain are not good. They can cause the fine instruments in your gear to go wonky or corrode. If moisture is trapped in your lens over time, it may be subject to lens haze, a contaminant effect of your lens developing a fungus that makes it look foggy.
Tip: I keep silica gel packets in my camera bag when traveling through humid and moist weather, to keep the moisture from being locked in. These silica gel packets act as absorbers and dehumidifiers. You can order them by packet or save up the packets that come in the packing of new items.

Alternate solution: Buy silica gel dessicant. It’s a tiny container with holes for the gels to absorb condensation, but make sure the container is sealed. I bought one at a camera shop and when I dropped it. All the tiny silica gel marbles scattered throughout my room and I had to worry about my dog finding and eating them. But I have em!

13. Insure your camera gear
If you’re wondering about how to start a travel vlog, you need to think not only on the creative end, but about your business and its tools. What are the odds something could happen to your camera equipment gear when you’re on the road? Homeowner’s Insurance is a popular insurance for covering camera equipment. However, not everyone owns a home.
I purchase World Nomads travel insurance for its tech equipment coverage for lost, stolen or damaged gear. It also doubles as trip insurance!
14. Remember to wipe your lens
This sounds soooo simple. It’s easy to forget to wipe your lens, when you’re running around famous landmark sites and content gathering gets demanding.
Smudges don’t always show up on your camera viewfinder when the sun is beating down on it, which often it is! But they are visible when you edit.
Tip: Be sure to clean your lens with a lens cloth at the end of the day, the start of it and the middle. Do this to your iPhone cameras too! (ai… this one is easy to forget)
15. Check camera settings
Checking your camera settings at the beginning of each day while traveling is crucial to avoid mistakes that can become troublesome during post-production. When you’re in a new and exciting location, it’s easy to forget to adjust your camera settings, leading to overexposed or underexposed shots, blurry images, or incorrect white balance.
Additionally, it’s easy to accidentally knock your settings off if you’re in a rush. If you have a camera with knobs, be careful that they don’t accidentally catch on something and turn your notice. If your camera has touch screen menus, then be sure while you’re operating it, you don’t accidentally swipe a feature and turn it on.
On a recent trip, I shot all super-wide footage on a GoPro because I didn’t realize I kept knocking my settings off. Such a rookie mistake! I can rush, when capturing footage as there are many places I try to film in one day. By taking a few minutes each morning to review and adjust your camera settings, you can ensure that your footage is of high quality and ready to use without spending hours fixing issues later.
Here are camera settings to consider:
- Exposure: Check your aperture, shutter speed, and ISO settings to ensure proper exposure for the specific lighting conditions you’ll encounter throughout the day. Night time is challenging. Use a higher ISO in low-light situations .
- Focus: Check your focus settings to ensure your subjects are sharp and in focus. Consider using manual focus for more control, especially in challenging lighting conditions or when dealing with moving subjects.
- File Format and Resolution: Choose the right file format and resolution for your needs. RAW and 4K/60 fps files offer more flexibility in post-processing and look better tracking motion, but they take up more space on your memory card. I like to keep my settings at Full HD (1920 x 1080) 1080p and 60fps but sometimes, my hand accidentally changes it to 30fps, which drives me nuts! If using a GoPro, make sure you are not on the super-wide settings unless you mean to be. The menu is super sensitive and easy to accidentally nudge or swipe a setting. This was a mistake I made on my last trip!
- Battery and Memory Card: Make sure your battery is fully charged and your memory card has enough space for the day’s shooting. Carry extra batteries and memory cards to avoid running out of power or storage.
- Image Stabilization: Enable image stabilization if your camera or lens has this feature, especially when shooting handheld or in situations with potential camera shake.
- Audio Settings: If you’re recording audio with your camera, check your microphone settings and audio levels to ensure clear sound quality.
By taking the time to review and adjust your camera settings each day, you can avoid common mistakes and capture stunning footage that requires minimal post-production work. This preparation will ultimately save you time and help you tell your travel stories more effectively through your vlogs.
Conclusion
By being true to myself and my journey, I’m confident that my solo travel vlog will continue to grow and inspire others. As a YouTube growth coach, I’m passionate about helping fellow female travel vloggers achieve their dreams and rise to the top of the travel vlogging community.
What recommendations would you add to this guide on Travel Vlogging tips for beginners and how to start a travel vlog?